What it's about
The precise alignment of the knee pivot point is crucial to avoid shear forces.
The knee pivot point and anatomical joint pivot point must match exactly.
Extension and flexion are individually limited using two separate rotary knobs.
A cloth should always be placed between the leg and the support, even if it is omitted in promotional material.
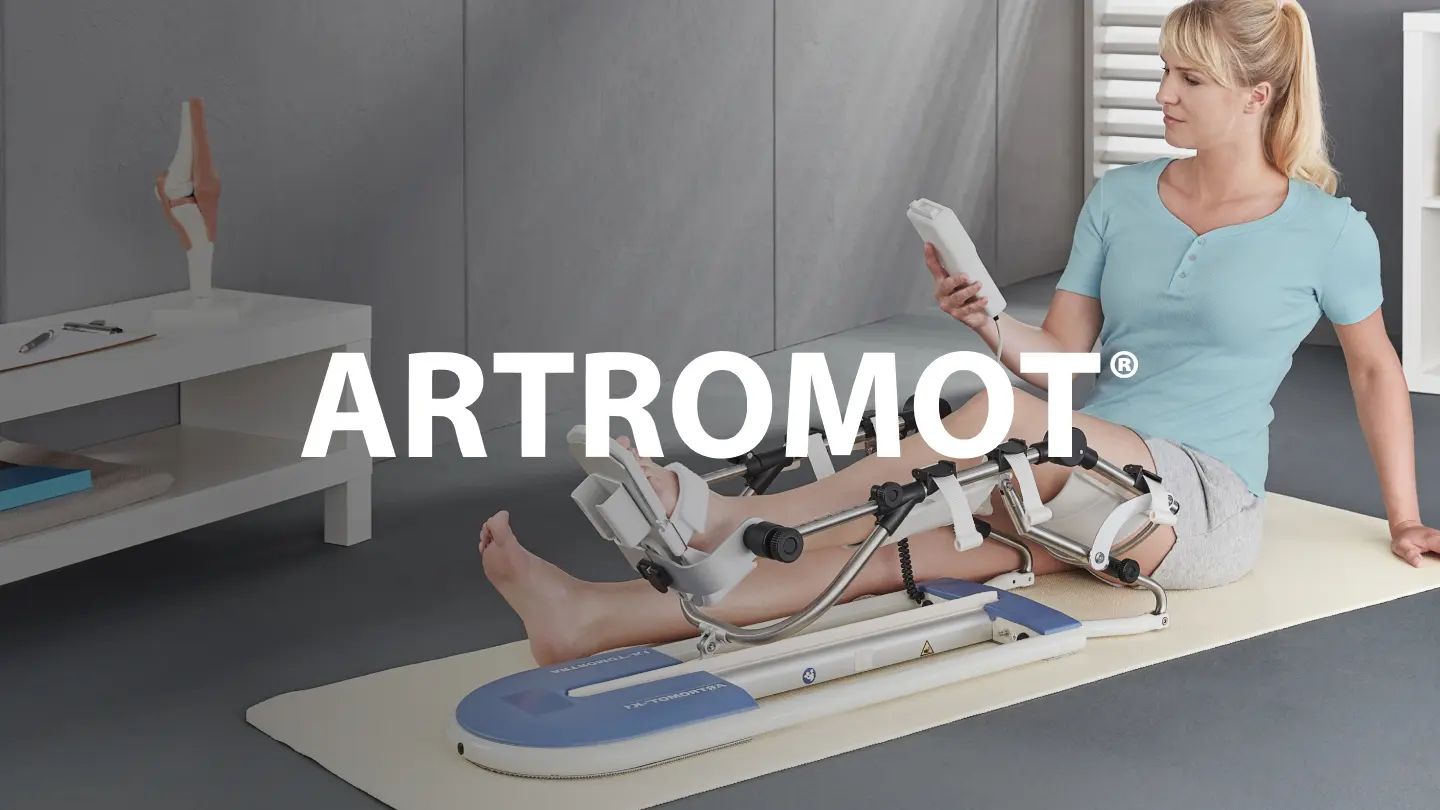
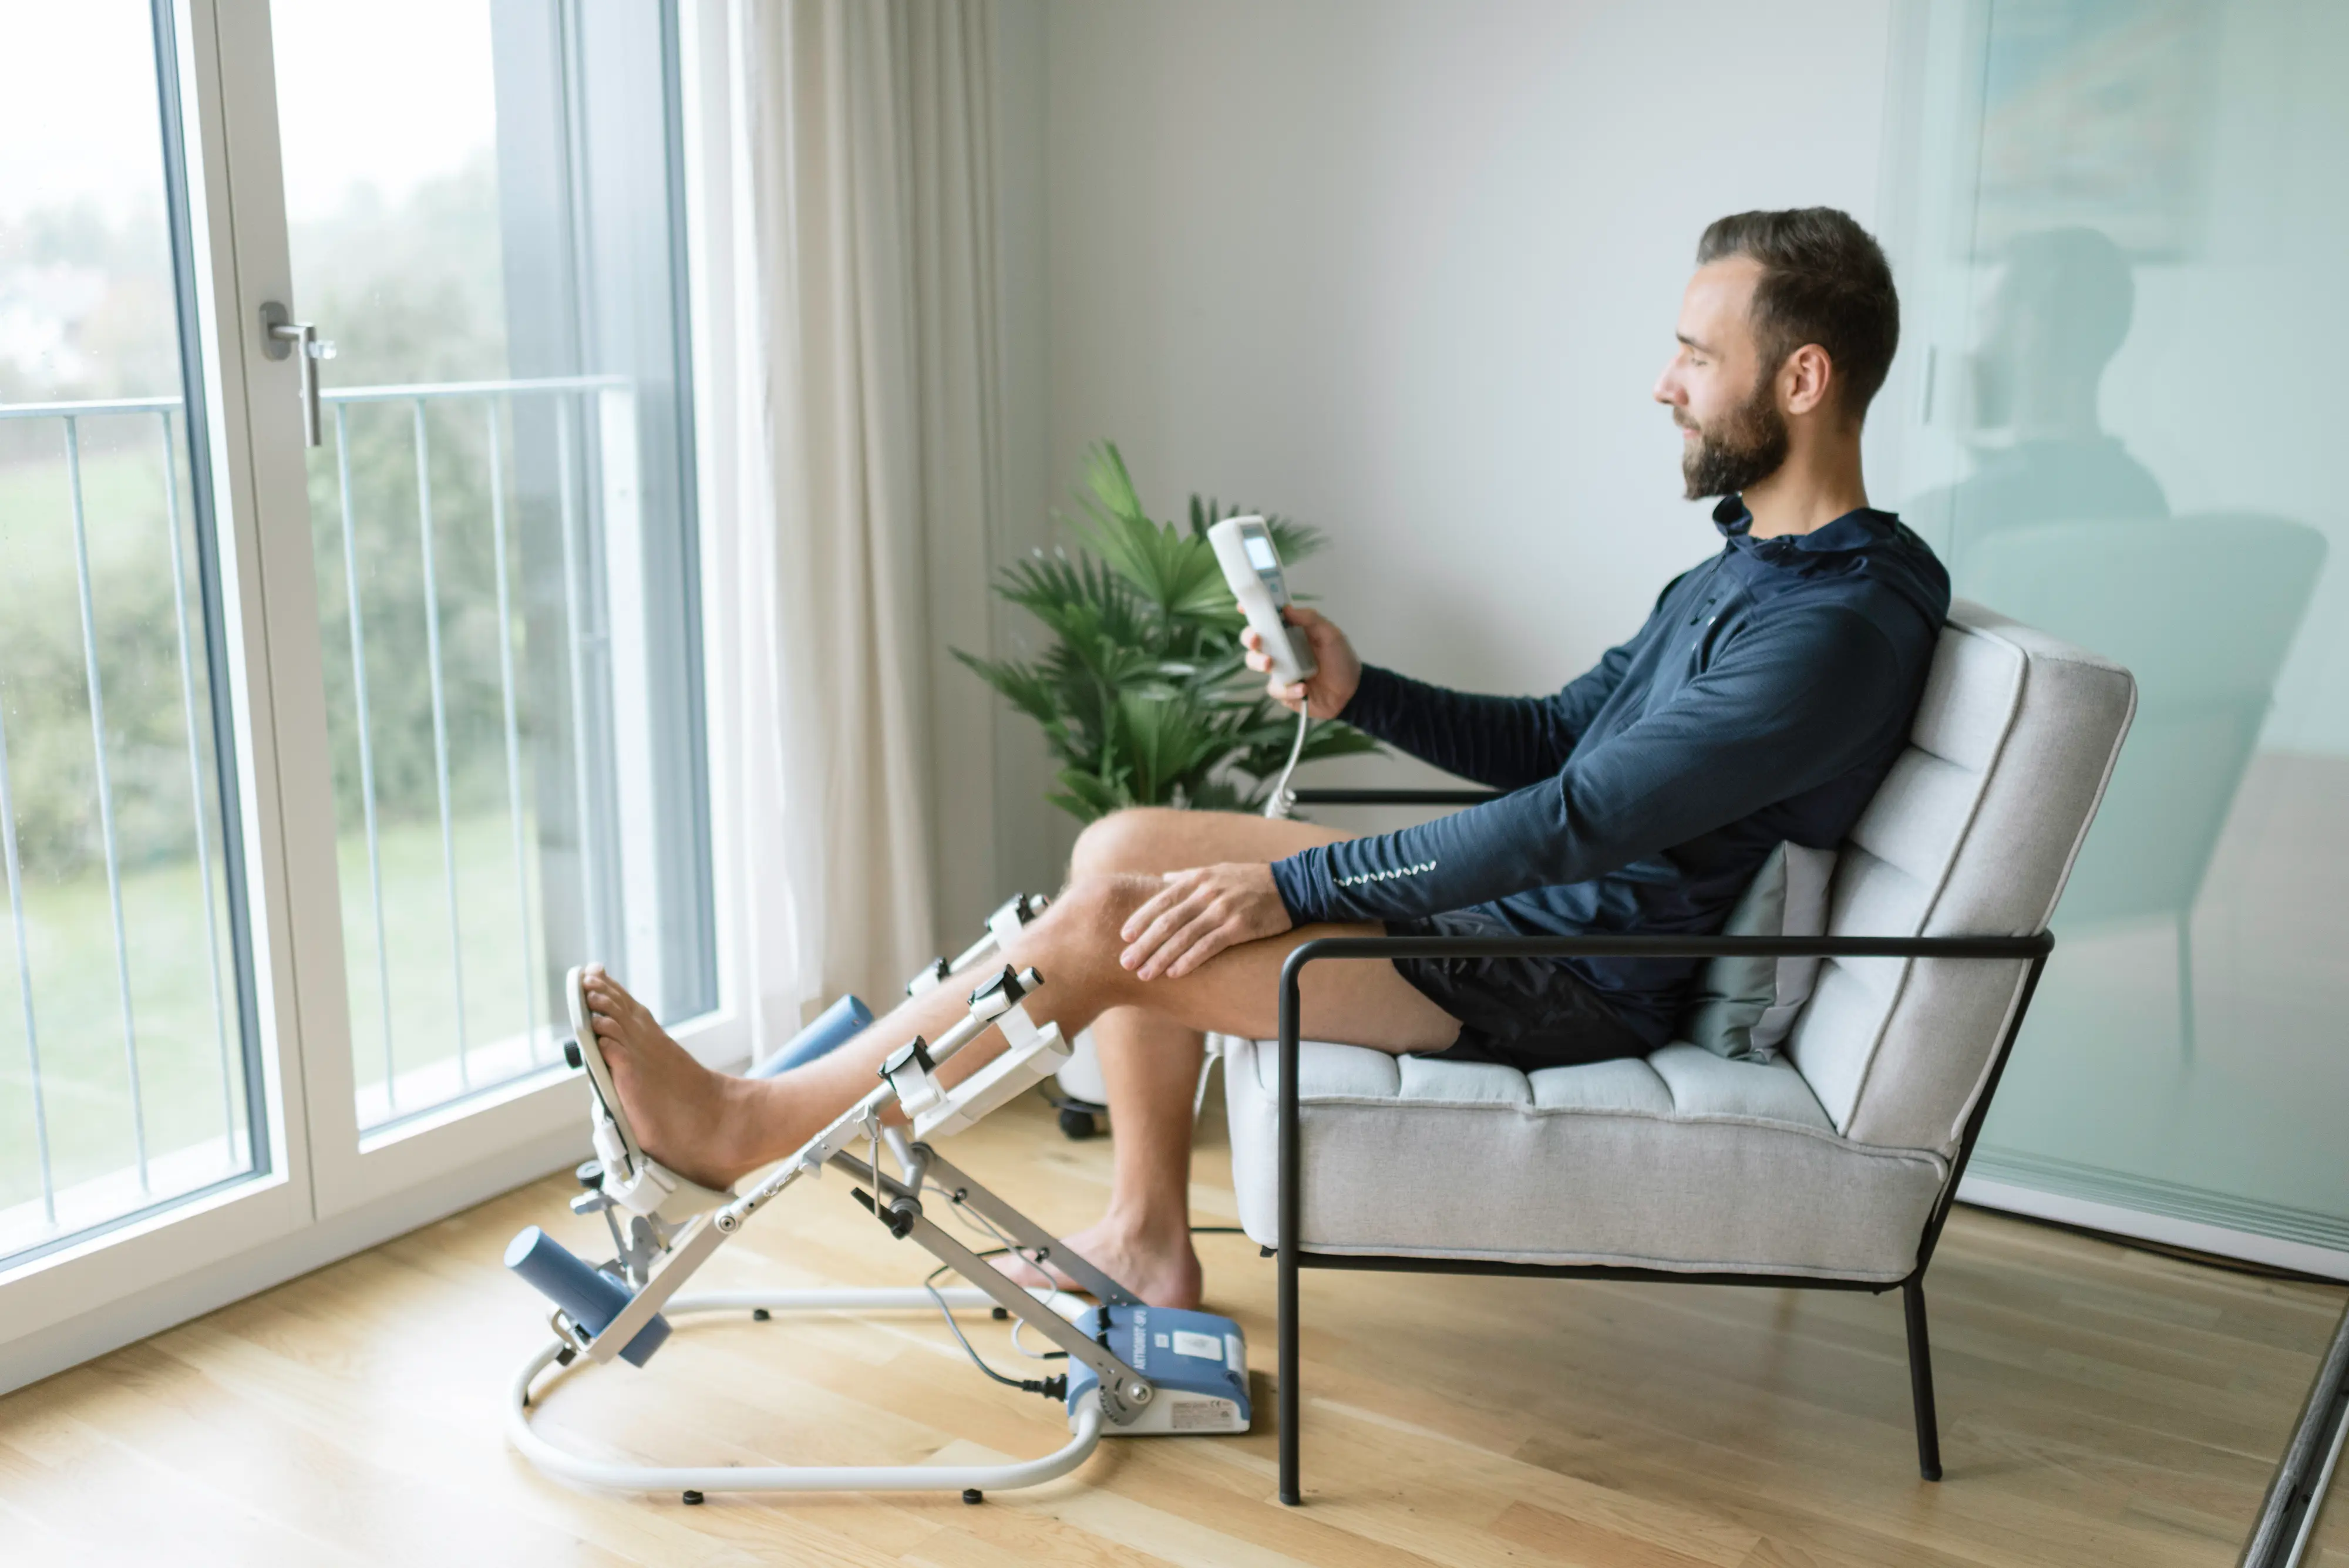
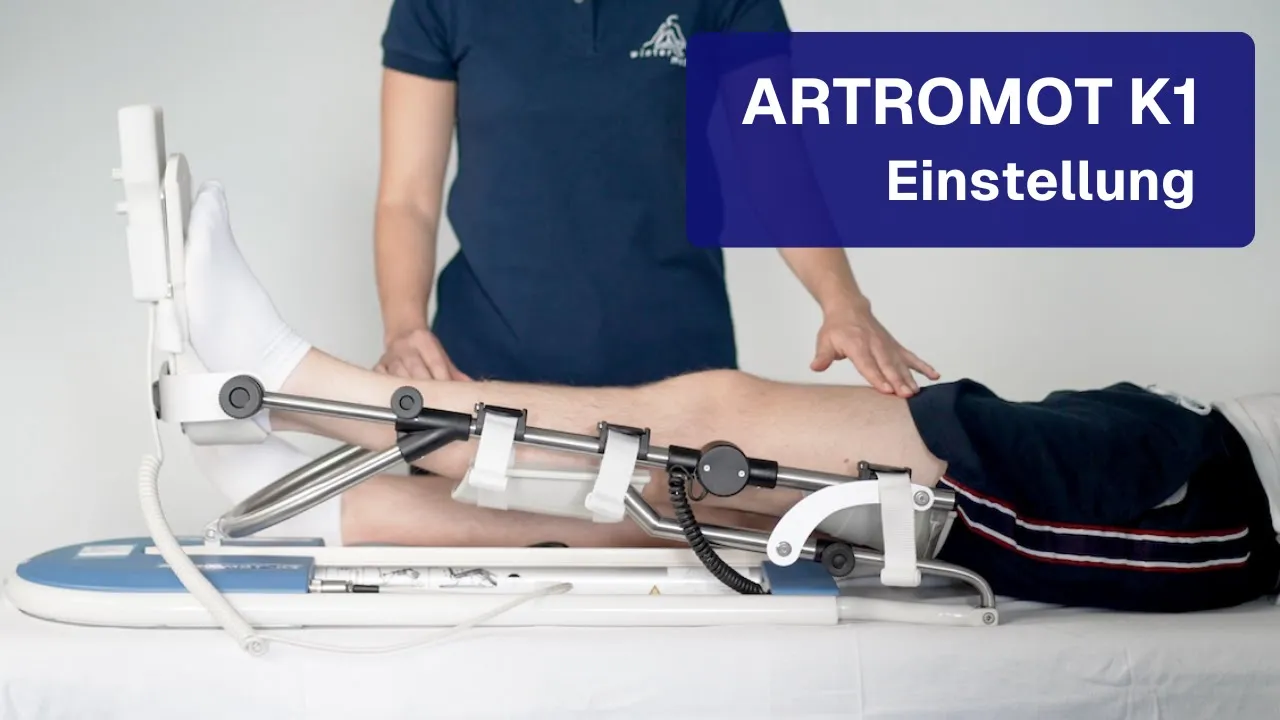
The correct setup of the ARTROMOT K1 Knee CPM device (Kinetec) is crucial for safe and effective CPM therapy after Knee surgeries. This guide is intended for Specialist staff who provide Patients with the device at home or in a clinical setting, and accompanies the official video tutorial from WINTER Medizintechnik with a structured step-by-step overview.
The following video provides a complete overview of all setup steps and serves as a visual supplement to this written guide:
Step 1: Preparation and measurement (0:00 – 1:10)
Before the device is applied to the Patient, both the Patient positioning and the basic settings of the device must be prepared. This step lays the foundation for all subsequent settings and should be carried out carefully.
Patient positioning
Position the Patient on a surface that is not too soft. Therapy with the ARTROMOT K1 should always be performed while lying down. A surface that is too soft can distort the device setup and impair Therapy success, because the device will not rest correctly against the leg and the Movement axis cannot be aligned precisely.
Measure Thigh length
Measure the length of the Thigh between the greater Trochanter and the center of the Knee. Carefully note the measured value, as it is entered directly into the setting of the Thigh scale on the device. An inaccurate measurement inevitably leads to incorrect axis alignment between the Knee joint and the device.
Prepare the device
Prepare the device in the following order:
Connect the Power cable to the device and to the wall socket.
Switch on the Main switch.
Let the device run to the setup position (in the rear area of the front blue plastic cover).
Set the previously measured Thigh length value on the Thigh scale.
Move the device into full Extension at approx. 0°.
For now, select a speed of about 35%. This moderate setting makes it easier to position the Patient’s leg later.
Position the Foot shell
Correct presetting of the Foot shell is important so that the Patient’s leg can later be placed in without difficulty. Proceed as follows:
Set the Foot shell to the upright position.
Pre-tension the Foot shell slightly.
First slide the Lower leg length to the maximum.
Do not tighten the screws yet.
Note: The screws for the Lower leg length are only tightened after the Patient’s leg is correctly positioned. Tightening them too early prevents the necessary adjustment in step 2.
Step 2: Setup on the Patient (1:11 – 2:38)
In this step, the Patient’s leg is placed in the device and all relevant settings are individually adjusted to the Patient. Correct execution of this step is essential for Therapy success.
Position the leg
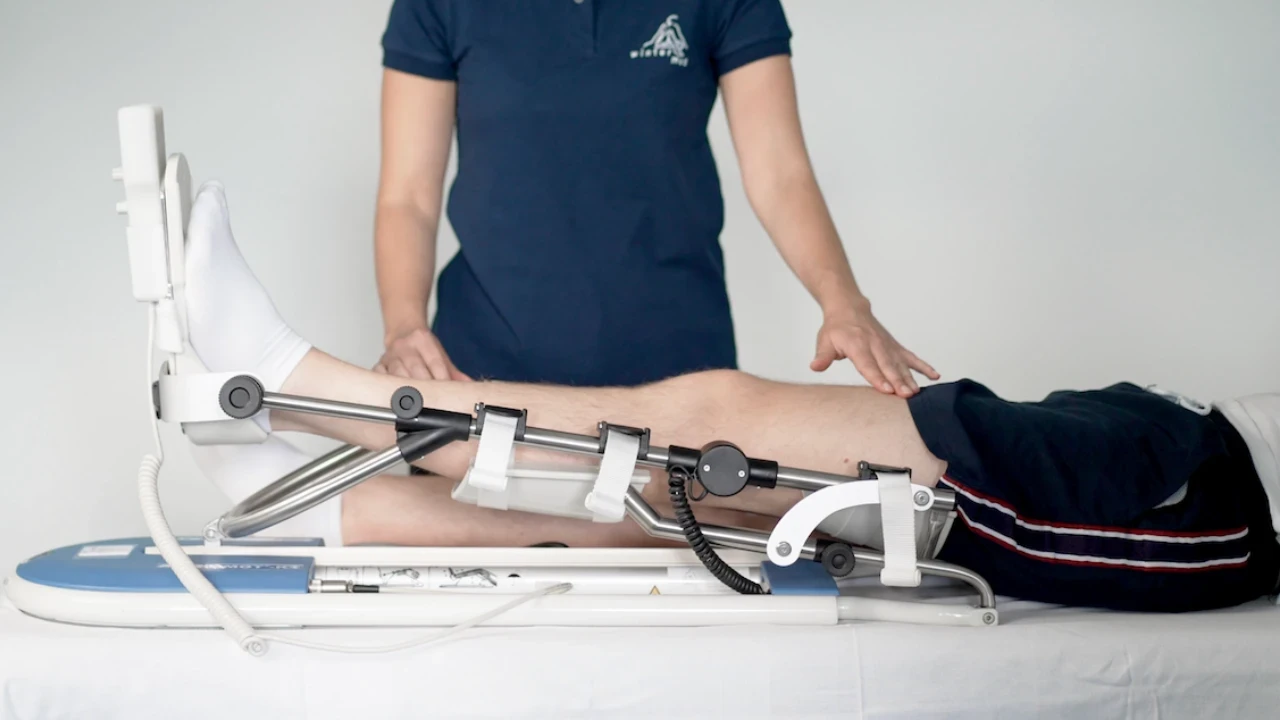
Place the Patient’s leg on the Leg supports so that the center of the Knee is exactly between the two Knee pivot points of the device. First keep the Lower leg raised and slide the Foot section toward the Heel. The two screws can then be tightened.
Adjust the Leg shells
Adjust the height of the Leg shells, both on the Lower leg and on the Thigh, so that the supports have only light contact with the leg. The leg should rest without pressure. Make sure that the Lower leg and Thigh are parallel to the two side tubes of the Leg support attachment. This parallel alignment is an important prerequisite for correct movement guidance.
Set the Range of motion
The Range of motion is set using two Rotary knobs. The following table provides an overview of the function of each control:
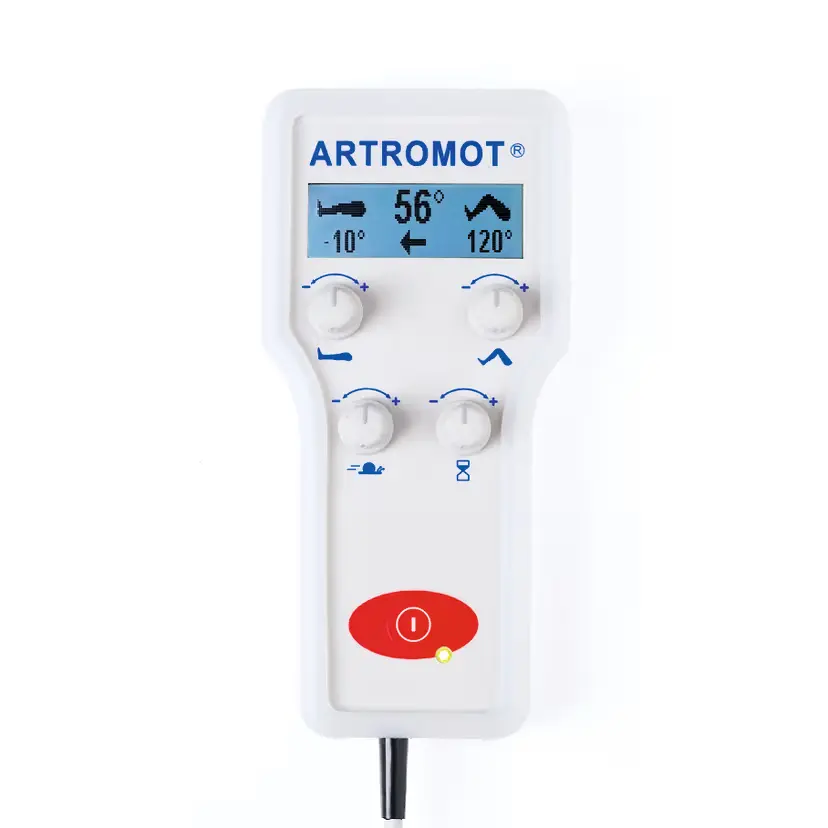
Setting | Control | Function |
|---|---|---|
Maximum Extension (Extension) | Upper left Rotary knob | Limits the maximum pain-free Extension |
Maximum Flexion (Flexion) | Upper right Rotary knob | Limits the maximum pain-free Flexion |
Set the Range of motion in this order:
Use the upper left knob to limit the maximum pain-free Extension.
Switch on the device and let it run to the maximum pain-free Flexion of the Patient’s leg.
Then use the upper right Rotary knob to limit the maximum Flexion.
Special case: Restricted Extension
If the Patient cannot yet fully extend the leg, an adapted procedure is required:
Let the device run far enough into Flexion so that, at the maximum possible pain-free Extension, Lower leg and Thigh are parallel to the rods.
If necessary, adjust the height of the Lower leg and Thigh shells so that the leg rests without pressure in this position as well.
Hygiene note: For demonstration purposes, the video does not show a cover on the Leg supports. In Practice, a cloth should always be placed on the Leg supports before the Patient’s leg is placed in.
Step 3: Check the setup (2:39 – 3:18)
Checking the device setup is an indispensable quality assurance step. It can be carried out effectively only at a higher Flexion angle, ideally at 90° Flexion.
Tip: If the affected extremity has not yet reached 90° Flexion, the check can also be performed on the Patient’s healthy leg.
Check criteria at 90° Flexion
The central goal of the check is for the axis of rotation of the Knee joint and the axis of rotation of the device to be at the same height and parallel to each other at 90° Flexion. The following table shows possible observations and the corresponding corrective measures:
Observation at 90° Flexion | Corrective measure |
|---|---|
Knee joint sits higher than the two black Joints of the device | Increase Thigh length |
Knee joint lies lower than the two black Joints of the device | Reduce Thigh length |
Both Joints are parallel at 90° | The setting is correct |
A correctly aligned axis is crucial not only for the effectiveness of the Therapy, but also for Patient safety. Deviations in axis alignment can lead to shear forces on the Knee joint, which is particularly critical in Postoperative Patients. Therefore, take the necessary time for this check step and correct the Thigh scale as needed until parallel alignment is achieved.
Step 4: Important notes (3:19 – 3:33)
In addition to the technical settings, there are two points that require special attention in practical use.
Position of the rear Leg shell
Make sure that the rear Leg shell is not positioned too low. Under no circumstances should it fall in front of the chrome-plated strut. An incorrectly positioned rear Leg shell can impair Therapy and, in the worst case, lead to incorrect loading of the leg. Check the position of the rear Leg shell each time the device is reset.
Switch off the device after Therapy
After each Therapy session, the device should be switched off at the Main switch. This protects the device, prevents unintended movements and ensures a safe state between Therapy sessions.
Step 5: Release the Key lock (3:34 – 3:42)
The ARTROMOT K1 is equipped with a Key lock that prevents unintended changes to the settings by the Patient. This function is particularly relevant when the device is used for Home therapy and the Patient works with it independently.
Release the Key lock
To release the Key lock and change settings again, proceed as follows:
Press the two left buttons simultaneously for a few seconds.
The lock is released and the settings can be changed again.
This function is intended exclusively for Specialist staff. Patients should be informed that setting changes may only be made by qualified personnel.
Overall overview: All setup steps at a glance
Step | Content | Video timestamp |
|---|---|---|
Step 1 | Preparation and measurement: Patient positioning, Thigh measurement, device preparation, setting the Foot shell | 0:00 – 1:10 |
Step 2 | Setup on the Patient: place the leg in, adjust Leg shells, configure Range of motion | 1:11 – 2:38 |
Step 3 | Check the setup: axis check at 90° Flexion, correction of the Thigh scale | 2:39 – 3:18 |
Step 4 | Important notes: position of the rear Leg shell, switching off after Therapy | 3:19 – 3:33 |
Step 5 | Release the Key lock: press the two left buttons simultaneously | 3:34 – 3:42 |
ARTROMOT K1 in use: Practical context for Specialist staff
The ARTROMOT K1 is used Postoperative to ensure controlled, passive motor movement of the Knee joint. Typical Indications include procedures on the Knee joint in which early Mobilization supports the Healing process, prevents the formation of Adhesions and activates the Synovial fluid for Cartilage nutrition. You can find more about the background and benefits of CPM therapy after Knee surgeries in the article CPM device after Knee surgery on the WINTER Medizintechnik blog.
For optimal Therapy success, it is crucial that the device is not only set up correctly, but also maintained regularly. As the official ARTROMOT service partner in Switzerland, WINTER Medizintechnik offers both Rental devices and support with questions about setup and Maintenance.
For Clinics and Practices that need devices for their Patients, the Rental service for Knee CPM devices is available. The devices are delivered personally and set up professionally so that Patients can carry out Therapy safely at home. For questions about setup, delivery and support, the WINTER Medizintechnik team is available.
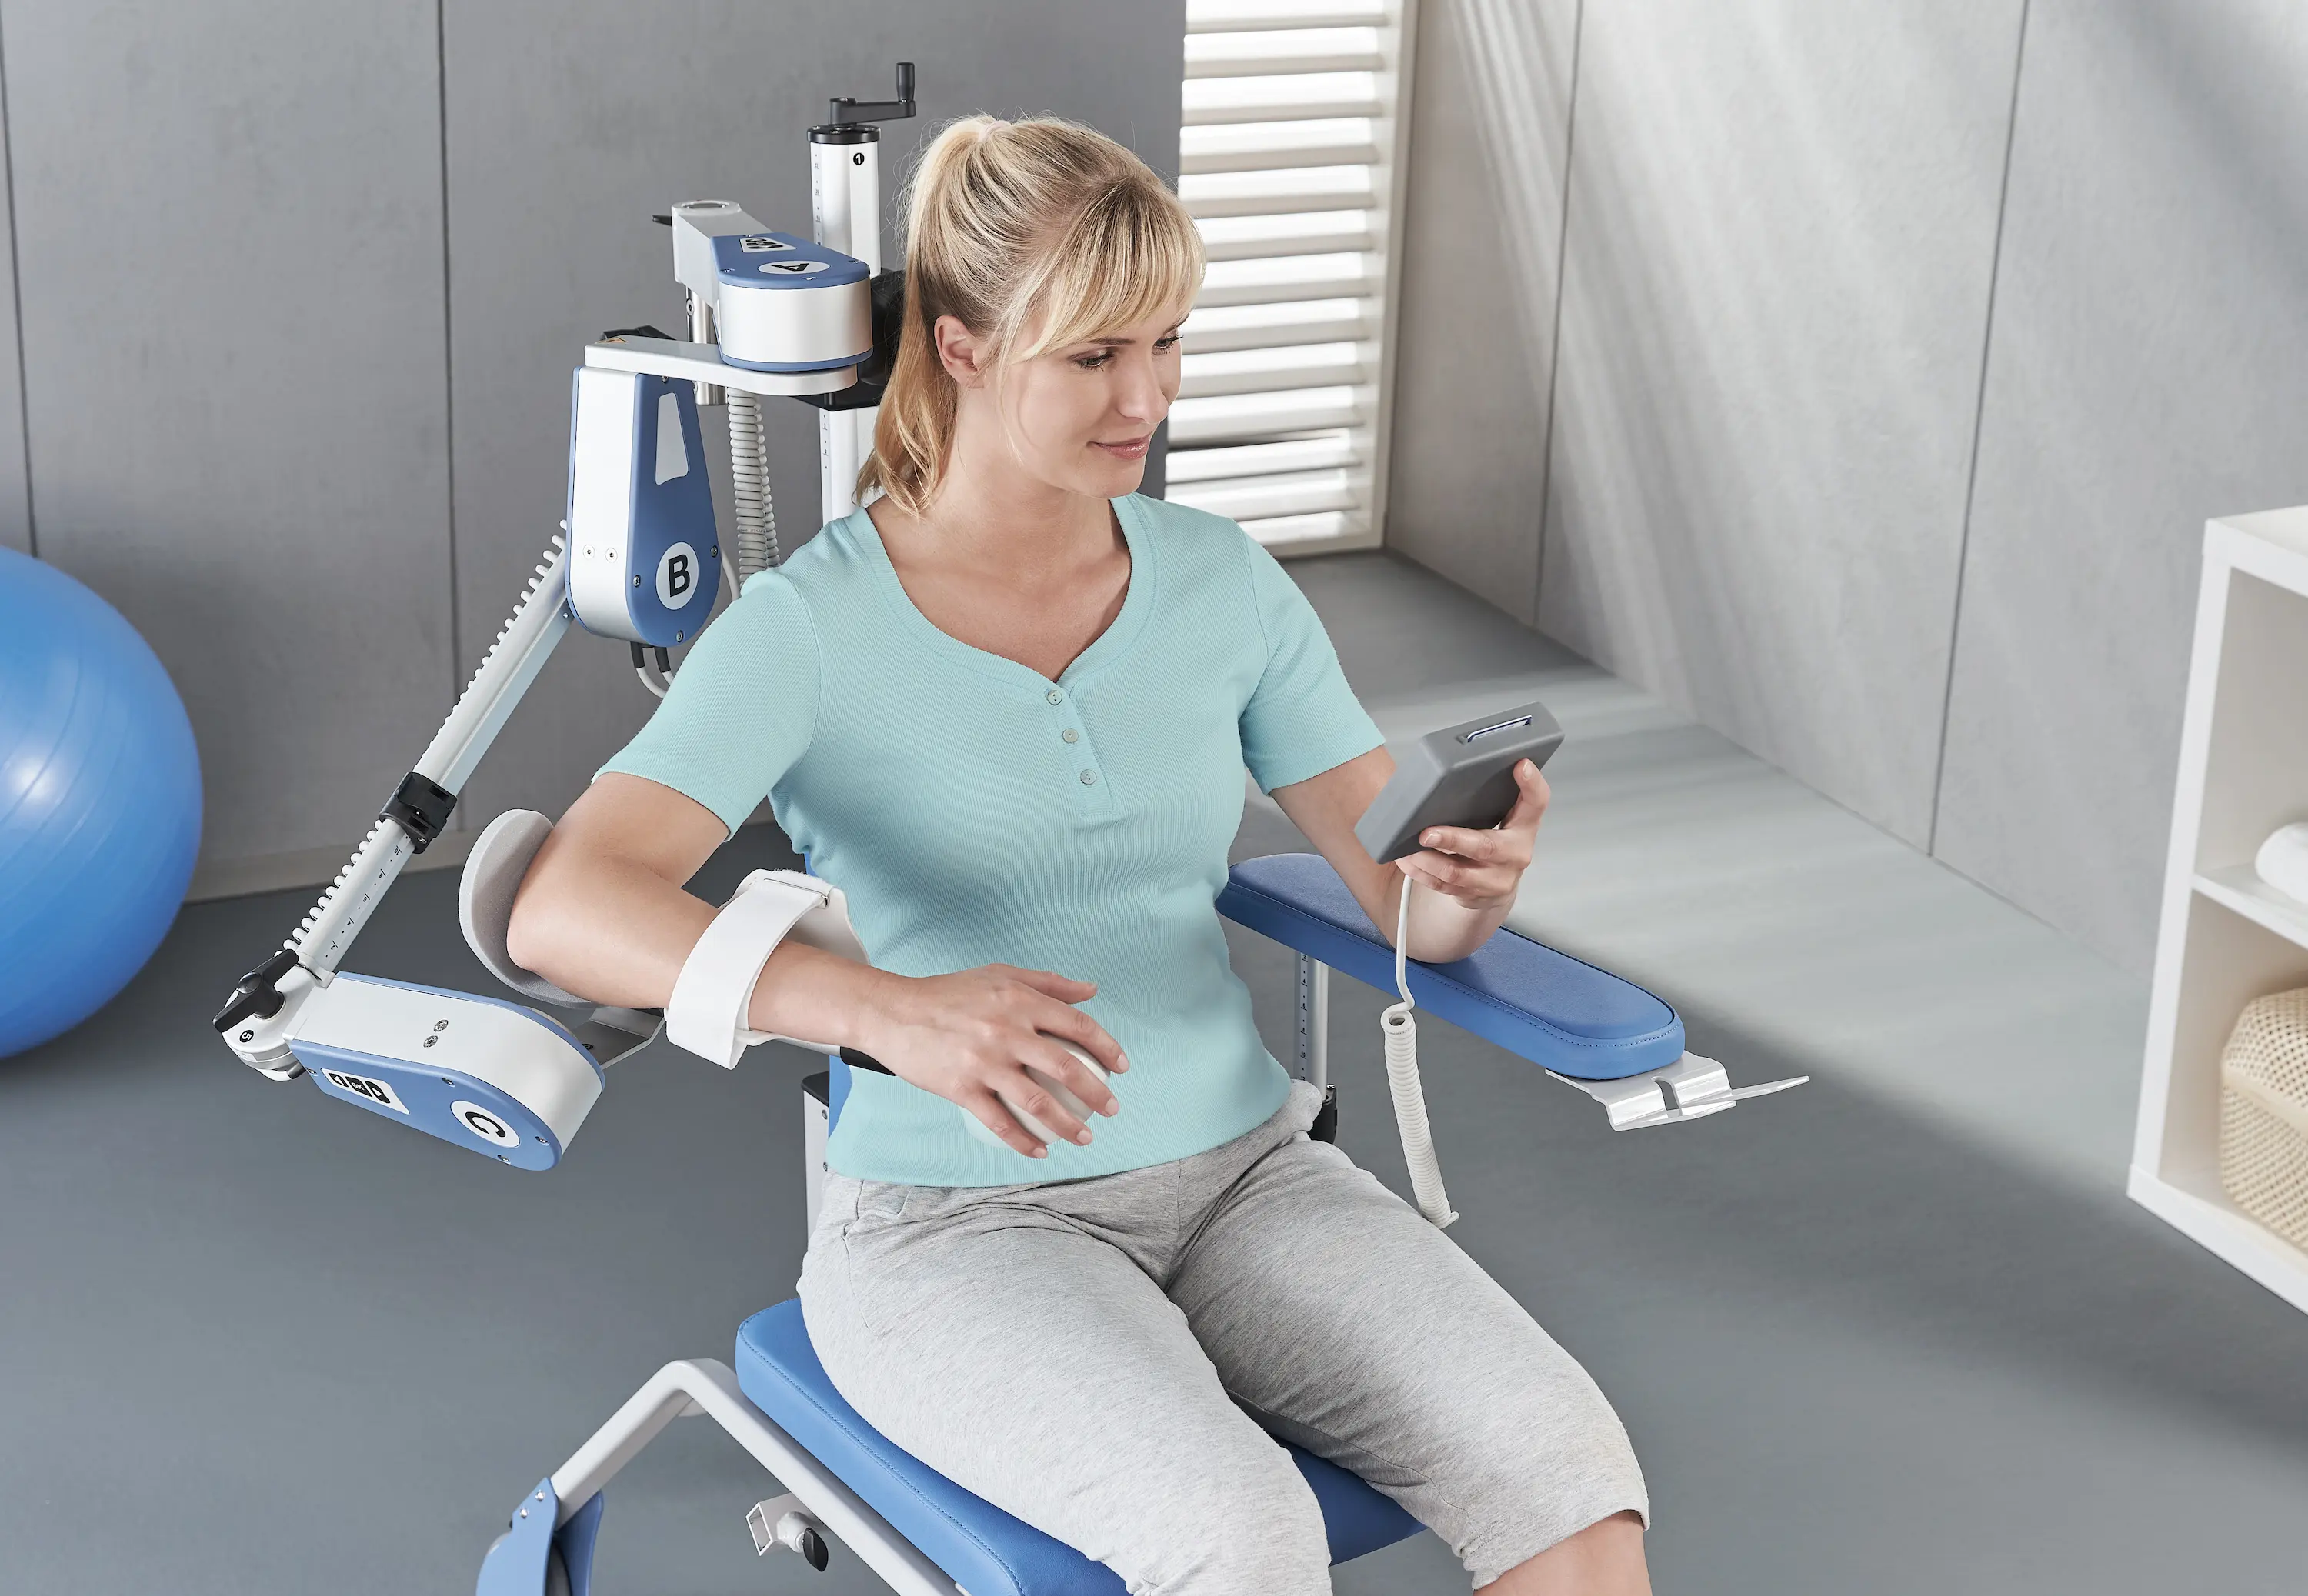
In addition to the Knee CPM device, WINTER Medizintechnik also offers CPM Devices for other Joints, including Shoulder CPM devices and Elbow CPM devices. The setup principles differ depending on the device and Joint, which is why specific instruction by Specialist staff is recommended for each device.
Quick overview: Setup parameters
Parameter | Description | Guide value / note |
|---|---|---|
Thigh length | Greater Trochanter to center of Knee | Measure individually |
Speed | Initial speed of movement | Approx. 35% |
Extension (Extension) | Upper left Rotary knob | Maximum pain-free value |
Flexion (Flexion) | Upper right Rotary knob | Maximum pain-free value |
Foot shell | Position and pre-tension | Upright, slightly pre-tensioned |
Lower leg length | Distance from center of Knee to Heel | First set to maximum, then adjust |
Leg shell height | Contact with Thigh/Lower leg | Only light contact, no pressure |
Checklist before starting Therapy
Patient is lying on a surface that is not too soft
Thigh length measured and noted
Power cable connected, Main switch switched on
Thigh scale set correctly
Speed set to approx. 35%
Foot shell positioned upright and slightly pre-tensioned
Center of Knee lies between the Knee pivot points of the device
Foot section slid toward the Heel and screws tightened
Leg shells have only light contact (no pressure)
Thigh and Lower leg parallel to the side tubes
Extension limited (upper left knob)
Flexion limited (upper right knob)
Check performed at 90° Flexion (or on the healthy leg)
Rear Leg shell is not positioned in front of the chrome-plated strut
Cloth placed on the Leg supports
Frequently asked questions about setting up the ARTROMOT K1
How can I tell whether the device is positioned correctly on the leg?
The most reliable indicator is the check step at 90° Flexion: if the Joint axes of the Knee and device are at the same height and parallel to each other, the device is correctly positioned. If there are deviations, the Thigh scale must be adjusted accordingly.
What should I do if the Patient reports pain during Therapy?
All movements should be performed exclusively within the pain-free range. If a Patient reports pain, the Range of motion must be reduced. Maximum Flexion is restricted with the upper right Rotary knob, and maximum Extension with the upper left Rotary knob. In case of doubt, Therapy should be interrupted and the treating Doctor consulted.
How long does it take to set up the device?
The complete setup, from measuring the Thigh length to the final axis check, requires care and should not be performed under time pressure. Experienced Specialist staff can carry out the process efficiently without compromising precision.
Does it need to be reset for every use?
If the device is always used by the same person and no clinical changes (for example, increasing Mobility) have occurred, existing settings can be retained. However, the Range of motion should be adjusted regularly, as it is gradually expanded over the course of Therapy. As a general rule: every new application of the device should be completed with an axis check.
Which surfaces are suitable for positioning the Patient?
Firm, level surfaces such as a treatment table or a firm bed are suitable. Very soft mattresses are unsuitable because the device can sink into them and the setting will be distorted.